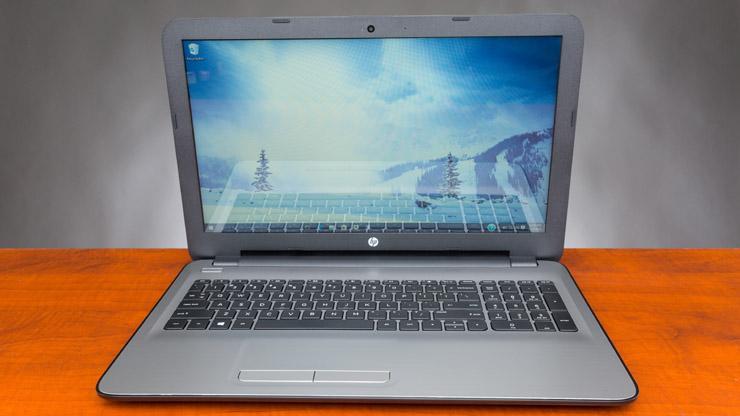
BIOS on your notebook has many functions to perform, and can cause you various problems if goes corrupted. For example, your notebook can display an error message of BIOS application error 501, or stops at a blank screen. Moreover, it doesn’t allow you to enter any of the options available at startup like hardware diagnostic tools, or The BIOS Setup Utility. In some cases, corrupted BIOS can cause the computer fail to start the operating system or emit beep codes. Another symptom that shows that your notebook BIOS have become corrupted is that the notebook still turns on and the fan spins but there’s no video on the external monitor or the internal display. Any of these symptoms can stop the computer from operating the computer, and requires you to repair the BIOS.
- Almost all HP notebooks come with an emergency BIOS recovery feature that is used to pull through and install the last known version of BIOS from the hard drive of the notebook. However, it can only work as long as the hard disk is functional. This emergency feature is designed to recover the catastrophic BIOS.
- In case if the hard disk partition is inaccessible or no longer exists, you should attempt to download a replacement BIOS file. This option can also be helpful if the emergency BIOS recovery method fails to resolve the problem. In order to use this method, you will need another computer that is not only in working condition but also has an active and fast internet connection. Just go to the HP website and jump into its software and drivers download page. Now type your notebook model number in the HP product name. Make sure you choose the correct detected operating system for your model in the search results. Now click BIOS and then click Details. Next step will be to click Download button available beside the BIOS update file, and save the file to the computer. Here, it is critical to note down the location where you have saved the file to ensure its safe use.
- Another way to restore your notebook BIOS is to use HP BIOS Update and Recovery in order to make a BIOS recovery flash drive. A blank USB flash drive is usually required to complete this step. However, this flash drive doesn’t need to be bootable. Connect this drive to a functional computer and navigate to the BIOS file that you have already downloaded and saved from HP site, and make a click on it twice. This may also display a user control window requiring you to click Yes to proceed. The Install Shield Wizard will open. Just follow the wizard steps to create the recovery files and copy them on your flash drive. Now use the recovery flash drive in addition to the HP Emergency BIOS Recovery feature to repair the BIOS.
- Follow the wizard to restore the BIOS. This will eventually come up with the HP BIOS Update Screen, and will lead to BIOS update begin automatically. However, the process takes a few minutes so wait for it to be complete. Now click Continue startup for prompting the HP notebook to restart without more ado or you can also let the notebook restart when the timer finishes. You now can start the operating system or jump to BIOS menu.


![Watch Video Now on xiaohongshu.com [以色列Elevatione perfectio X美容仪 perfectio X 全新仪器黑科技了解下]](https://www.techburgeon.com/wp-content/uploads/2019/07/perfectiox-singapore-150x150.jpg)
